
Which arm would we choose?
Choose the UPLIFT Crestview MON031 for frequent height changes, after checking its clamp and planned screen position. Its $109 package includes clamp and bolt-through hardware. We prefer the Atdec A13T with a 400 mm post when the screen usually stays at one height and you want a short arm close to its post. The selected black arm, post and C-clamp total $244 in separately posted prices.
Atdec's C-clamp needs a flat, straight desktop edge between 18 and 33 mm thick. Crestview accepts a wider thickness range, but its folded arm also needs lateral room. Those restrictions can decide the choice before price or adjustment preference. Crestview configuration; Atdec clamp instructions.
The two configurations at a glance
| Arm | Adjustment | Desktop thickness | Main space check | Listed price |
|---|---|---|---|---|
| Gas-spring height; VESA center 10 to 23 inches above desktop | 0.4 to 3.3 inches | Rear clamp projection and room to fold sideways | $109 | |
| Height set on post; short swing arm | 18 to 33 mm About 0.71 to 1.30 inches | Exact clamp zone, post orientation and screen position | $244 in parts |
Prices checked November 6, 2026. The Atdec total is $101 for AWM-A13T-B, $79 for AWM-P40G-B and $64 for AWM-FC-B. The $203 default AWMS-1340 kit uses a bolt-through mount.
UPLIFT Crestview for frequent height changes
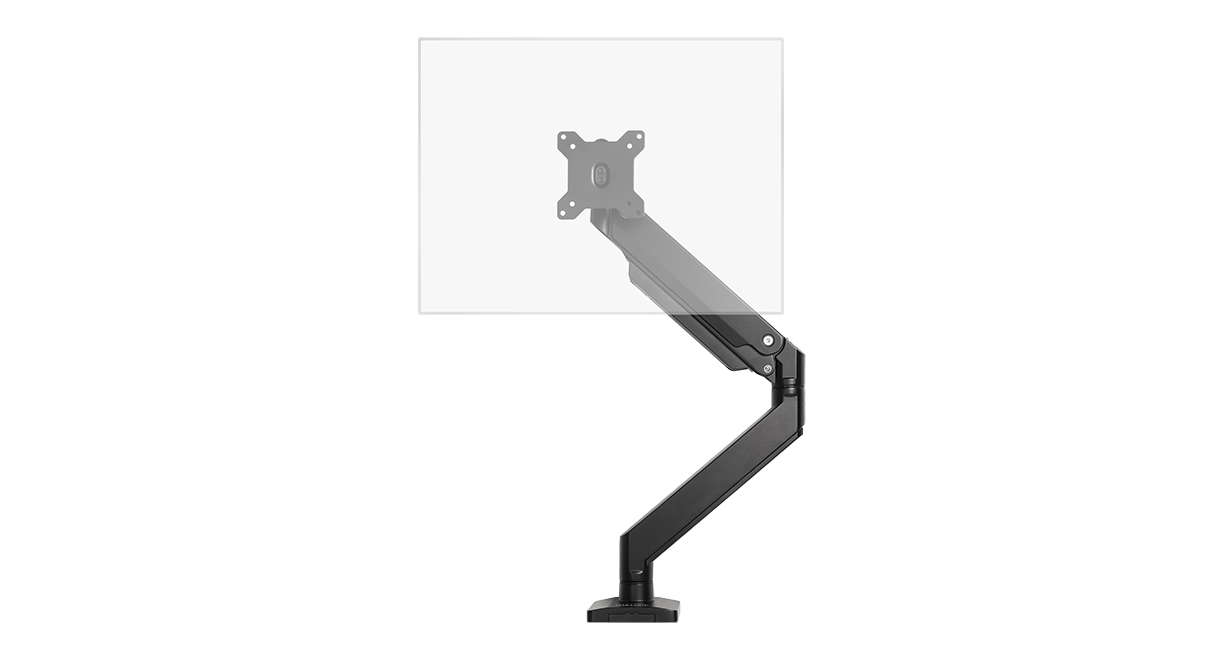
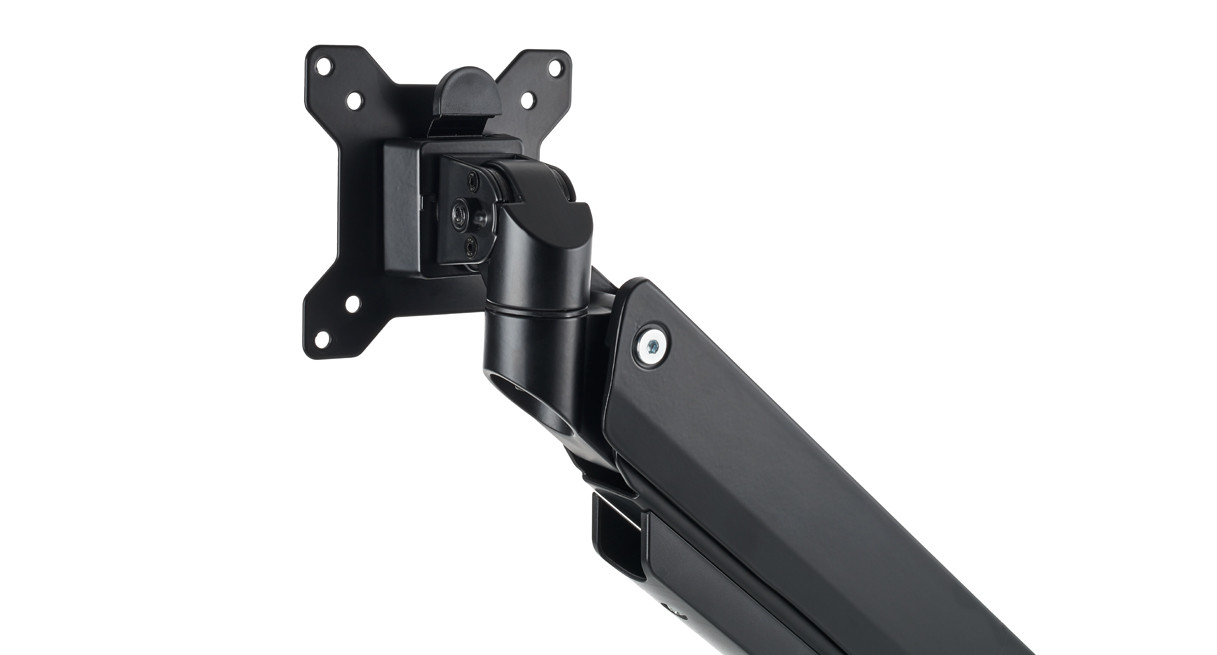
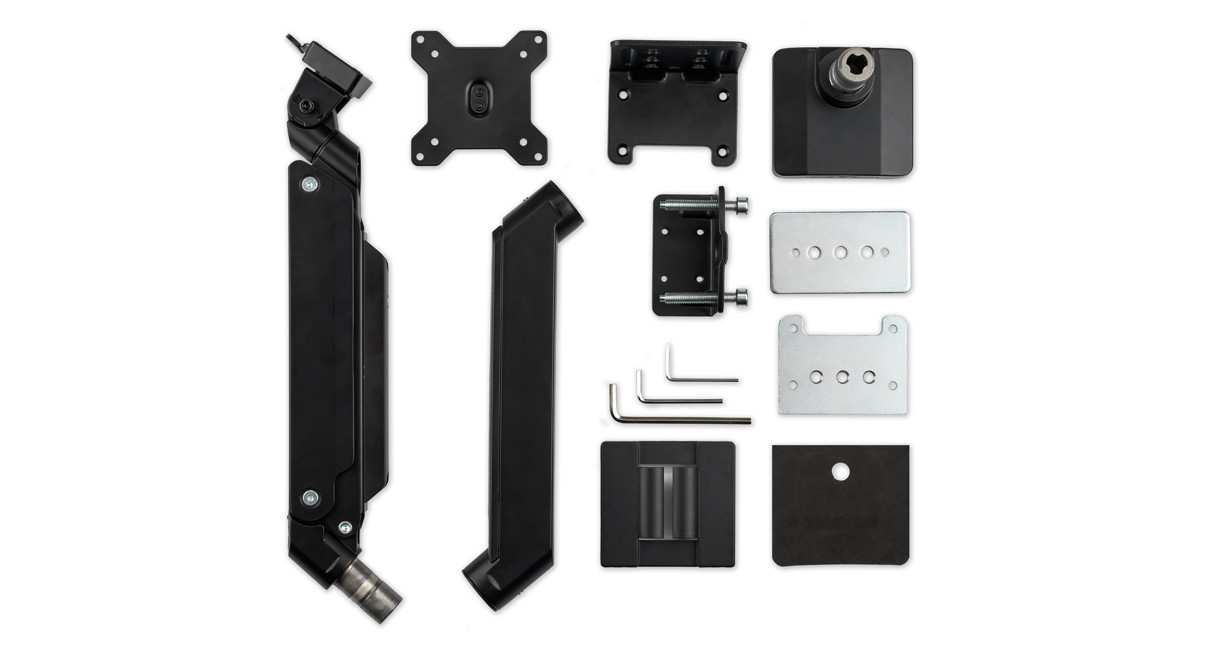
Crestview's gas spring supports the screen as you raise or lower it through a 13-inch vertical range. The manufacturer puts the center of the mounting plate between 10 and 23 inches above the desktop. Your screen's top edge will sit higher, according to its size and mounting-hole position. The arm supports listed monitor weights from 2.2 to 33 pounds and standard 75 x 75 mm or 100 x 100 mm mounting patterns. Crestview manual, page 8; specification sheet.
The rear clamp cover is worth measuring before choosing a position against a wall. The drawing shows 1.2 inches behind the desktop with the cover fitted, or 0.4 inches without it. Page 8 of the manual explains that the cover adds 0.8 inches and may not fit beside a wall or privacy panel. Those figures describe the clamp. The arm, screen and connected cables also need space.
The lower arm has a useful 180-degree rotation stop. Tightening the upper set screw enables it; the lower screw secures the arm to the base. Use the instructions rather than treating the screws as interchangeable. The upper arm still swivels, so the base stop cannot prevent every possible collision. Assembly, page 5, and movement, page 9.
The edge clamp fits tops from 0.4 to 3.3 inches thick. Bolt-through mounting fits 0.4 to 1.8 inches and requires a suitable hole. Included hardware and options.
The next check is where the folded arm puts your screen. UPLIFT's drawing shows why the desk's width can be as important as its depth.
The folded drawing also needs room sideways
UPLIFT labels a stowed depth of 4.6 inches from the VESA plate to the back of the clamp. In that illustrated arrangement, the plate is also 20.7 inches sideways from the center of the post. You need to consider both dimensions. The 4.6-inch figure is not a required gap between the desk and wall, or the distance from the wall to the front of your screen. Crestview top-view drawing.
Consider a hypothetical 32-inch-wide desktop. Put the left edge at zero and require the center of the VESA plate to sit at 16 inches. Assume the clamp must attach along the rear edge, with the post center somewhere inside that 32-inch width. To reproduce the drawing's straight sideways arrangement, the post would have to sit 20.7 inches to either side of the plate.
16 - 20.7 = -4.7 inches.
16 + 20.7 = 36.7 inches.
Both positions are outside the desktop's width. That particular folded arrangement cannot meet those centered-VESA and rear-clamp assumptions. Another fold, a different screen position or a different mounting method may work. This example does not establish the required height, monitor shape or cable clearance. It shows why a compact-looking drawing needs to be checked against the position you actually want.
Atdec's short arm for a screen that stays put
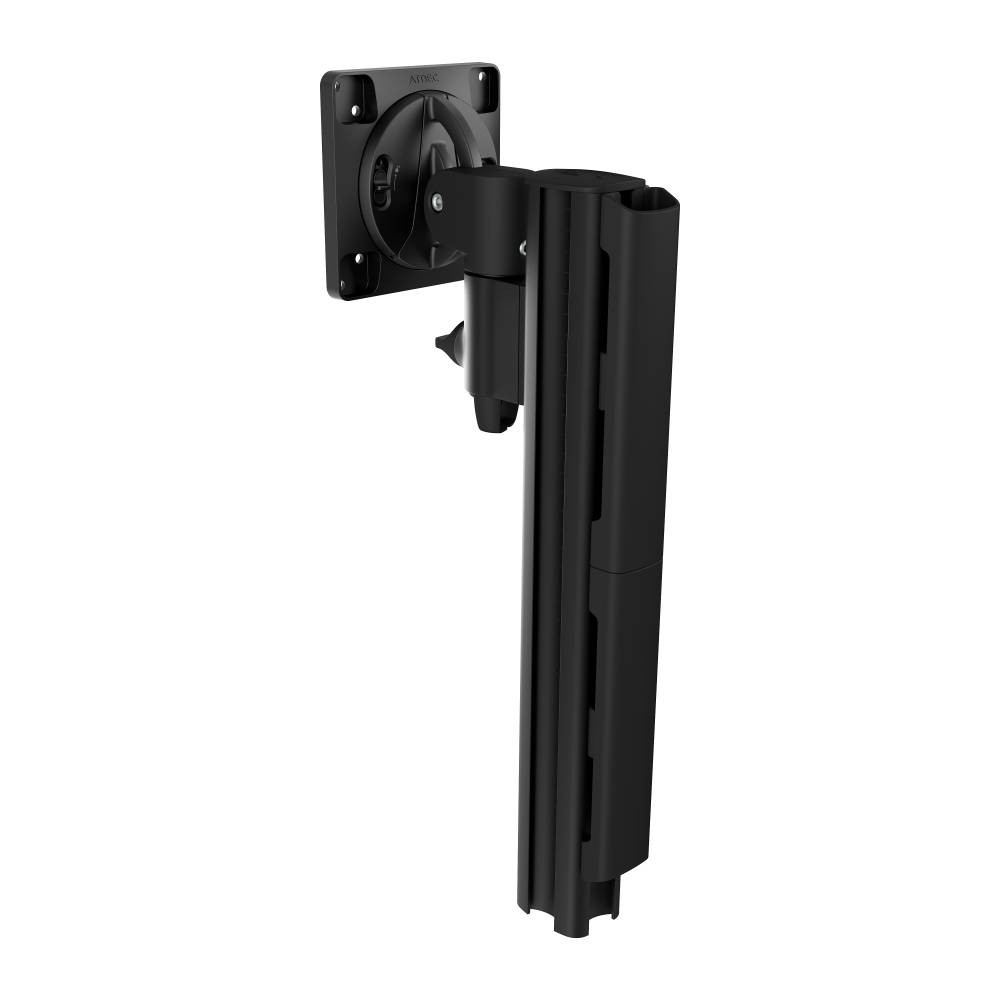
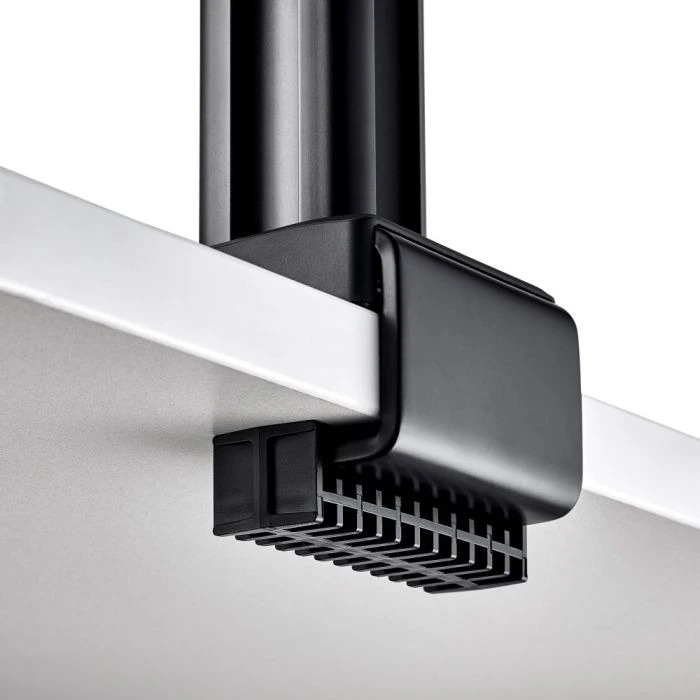
The Atdec configuration takes a different approach. AWM-A13T-B is a short swing arm attached to the AWM-P40G-B 400 mm post. Set the arm at the desired height on the post and tighten its knob. It has no long gas-spring elbow to fold behind the screen. We prefer this arrangement when you want a compact mounting mechanism and do not need frequent vertical adjustment. The 400 mm figure describes the post, not the height of your screen. Short arm; 400 mm post; arm installation.
Our selected mount uses the AWM-FC-B C-clamp. Its compact underside is worth checking if a frame rail or cable tray leaves little room below the top. It accepts flat, straight edges from 18 to 33 mm thick. Atdec excludes bullnose and bevelled edges. Its instructions also say not to attach an arm to the post's rear channel when using this clamp. Check the desk's underside and the permitted post orientation together. C-clamp; clamp instructions; post instructions, page 2.
The clamp's pad needs the correct orientation for the top. The manual gives 25 to 33 mm in its default position and 18 to 25 mm when inverted. The technical sheet gives 25.8 mm as the inverted upper limit. If your top falls between those two upper limits, ask Atdec which specification applies. A nominal one-inch top, 25.4 mm, lies within the stated default range. The material and shape still need to suit the mounting instructions. Technical sheet, page 18.
Atdec publishes separate drawings for front and side post attachment. Use the drawing for the orientation you intend. The arm's 130 mm name is not a monitor-to-wall measurement. Its stated load range is up to 12 kg for flat displays, or 10 kg for curved displays up to 140 mm deep. The instructions warn that an offset mount or uneven weight can add leverage even when the total mass is within the range. Check the screen's weight without its original stand and its mounting position. Arm drawings, page 6; load conditions, page 1.
The separately posted black components total $244, or $135 more than the Crestview. The AWMS-1340 kit page initially selects a bolt-through fixing at $203. It does not establish the price of our C-clamp assembly.
We would pay the extra $135 for this shorter arm only after checking its position on the intended desk. For frequent height changes, we would choose Crestview.
Other arms worth checking
The Ergotron LX Pro 45-682-292 remains a credible alternative. Its current drawings show folded arm/base arrangements with four-inch and five-inch depth callouts. Those endpoints differ from Crestview's VESA-to-back-of-clamp dimension. They cannot establish that the Ergotron needs less wall clearance. Its standard two-piece clamp and the separate 45-712-292 C-clamp also require their own applicable drawings. LX Pro dimensions; US series guide.
Humanscale's M2 Pro has configurable rotation stops, but its current documents disagree on minimum display weight and maximum desktop thickness. We would resolve the applicable figures before recommending it for a light screen or thick top. The name and generation also matter. The current M2 Pro M21BBTBC is distinct from older M2.1 cards still visible on the commercial site. M2 Pro specification guide; generation guide; weight guide; installation manual.
The $34.99 VIVO STAND-V001 is a budget pole arm with clamp and grommet hardware. Its height is set with an Allen wrench. We did not establish a comparable minimum folded position or complete rear clamp dimensions, so it does not displace either choice on this specific fit question. It may still suit a setup whose owner can verify those measurements. VIVO STAND-V001; assembly manual.
Measure the mounting space and the screen position
Start with the desk's thickness, edge shape and material. Measure the clear space underneath it where the clamp will sit. A frame rail, drawer or cable tray can obstruct a clamp even when the top is the right thickness. Check any restrictions in the desk's own instructions before adding an arm.
Then mark where you want the center of the screen's mounting holes. Measure that position forward of the rear edge and sideways from the proposed post. Include the display's actual shape and the space needed for connected plugs. Leave cables enough slack for every movement you intend to use. Follow the arm's installation and movement limits.
If you are still choosing the desk, see our small standing-desk comparison for top dimensions, finished heights and room-clearance checks.
How we made these choices
We compared current US configurations using manufacturer dimension sheets, installation manuals and posted component prices. We prioritized mounting geometry and how each arm changes screen position. Load ratings set compatibility limits. They do not measure wobble or drift.
Sources
- Crestview MON031 US product/configuration page
- Crestview dimension sheet SP-MON031-1.1
- Crestview MON031 assembly instructions, 12 pages, copyright 2023
- AWM-A13T-B exact short arm component
- AWM-P40G-B exact 400 mm post component
- AWM-FC-B exact C-clamp component
- AWM modular technical specification, 20 pages
- AWM-A13T installation guide, 3 pages, copyright 20231101
- AWM-P G installation guide, 2 pages, copyright 20210331
- AWM-FC installation guide, 4 pages, copyright 20230929
- AWMS-1340 Black configurable kit; default fixing bolt-through
- VIVO STAND-V001 US black single monitor mount
- STAND-V001 series REV3.1, updated 2025-01-17, black/white SKUs
- LX Pro Arm Single Display Desk Mount dimensional illustrations
- LX Pro series US/Canada specifications and mount options
- Monitor Arms Specifications Guide
- Monitor Arms Weight Capacity for Customer Use
- M2 Pro Desk Mount assembly instructions despite M2-1 filename
- M/Class legacy model transition and product comparison
- M/Class Monitor Arms SKU Logic